Intro#
Have you ever stumbled upon a cool project that lacks authentication or wanted to make a simple website for yourself without dealing with setting that up? Luckily Cloudflare has a product that makes adding an authentication layer to any website they serve simple and free!
In this article I will show you how to set that up!
For this to work, your website/application must be proxied by Cloudflare (that’s the orange cloud in the DNS settings)
Accessing the Zero-Trust page#
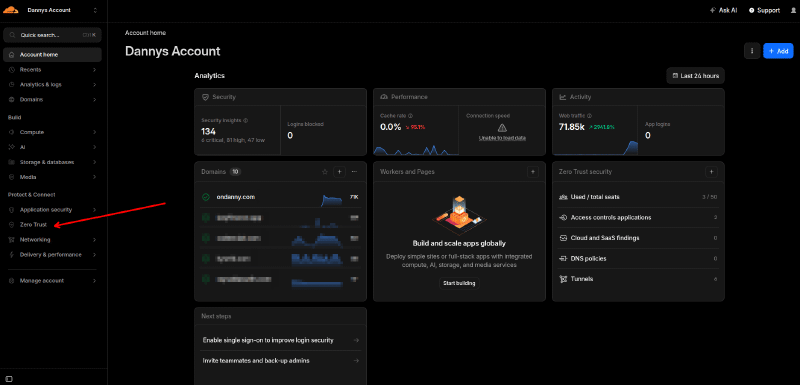
When you log into Cloudflare, you should be able to find the Zero Trust button on the sidebar to the left.
Creating a policy#
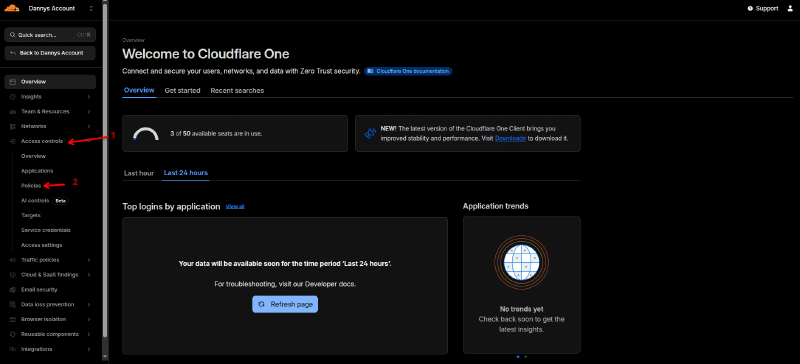
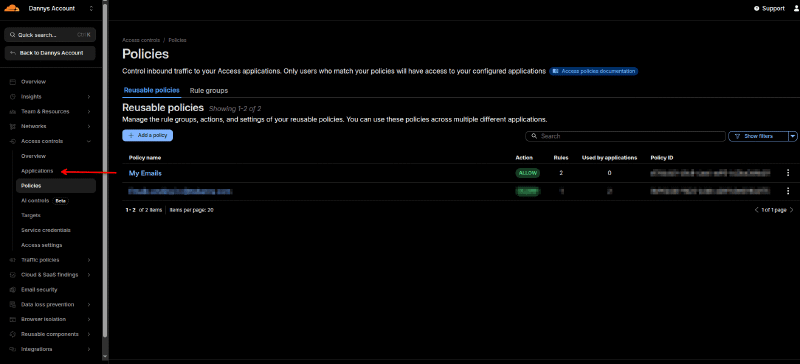
Policies are what we use to define how users authenticate to our application. From the Zero-Trust homepage, you want to navigate to the policies page by clicking the Access Controls dropdown and the Policies option as follows
On the policies page, hit Add a policy
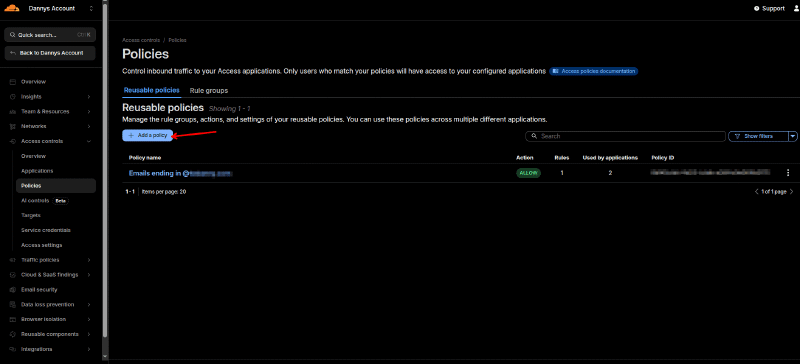
As you can see in my screenshot, I have a policy setup to accept logins from emails ending in @domain.com. This is the authentication scheme we will use for this demonstration, we will define which emails are allowed and this will enable cloudflare to send those emails one time codes to authenticate!
On this page you will want to define a policy name and then add some rules. In my example I will setup both a specific email (you can allow multiple different emails by separating them with a comma) and all the emails under my domain.
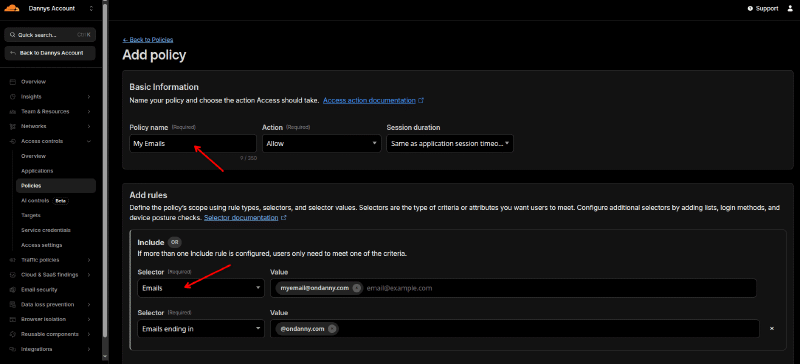
Once you enter this, hit Save at the bottom.
Creating an application#
Now that we have a policy setup, we are ready to setup an “Application”. Applications are where we define what it is we want to protect.
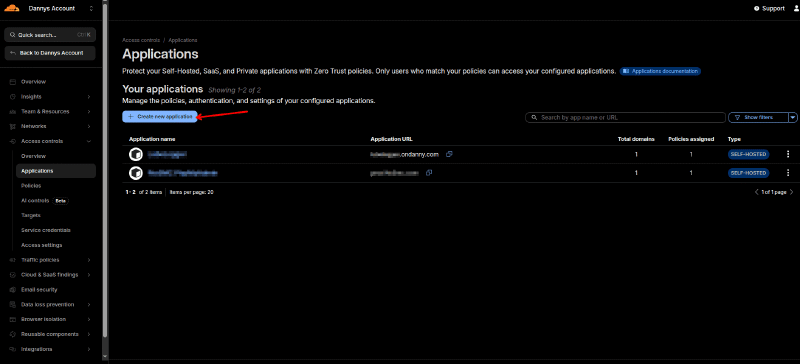
Navigate to the Applications page by looking for Applications in the sidebar.
From this page you will want to click on Create new application
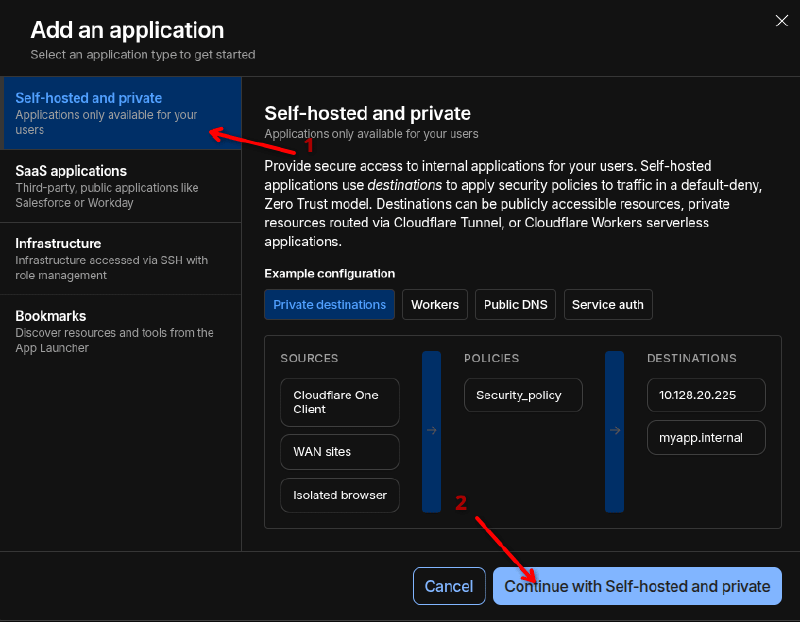
This will open a pop up with a few options. We want to select self-hosted as we are protecting an application we’re self hosting in this demo. Select Self-hosted and private and then click on Continue with Self-hosted and private
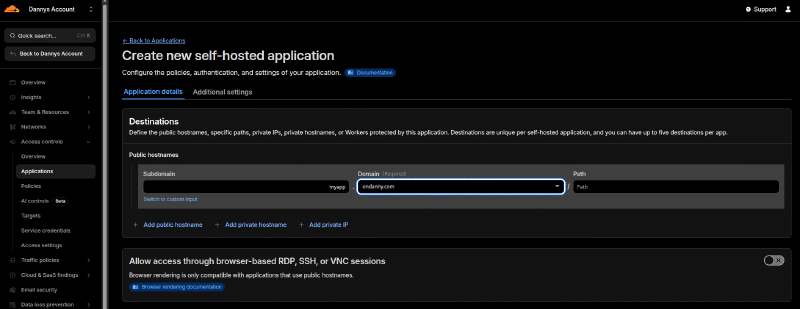
Fill out the destinations section. This is fairly simple, here you list which subdomains, domains and paths that Cloudflare is serving for you that you want to protect. In my example I will be protecting a website hosted at myapp.ondanny.com.
If you specify just a domain, it will protect every proxied request to that domain (regardless of subdomain/path). Same thing with subdomain, if you specify that it will protect anything under that subdomain (regardless of path). If you need to get really precise you can fill out the Path option.
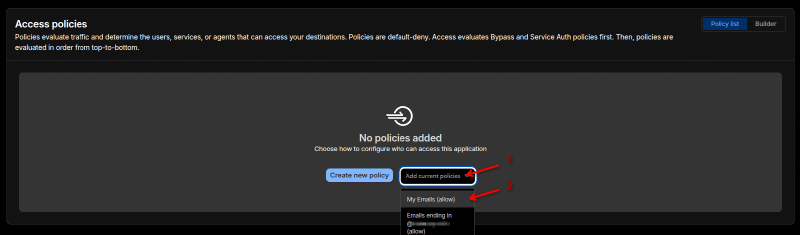
Scrolling down a bit brings us to the Policies section, this is where we add the policy we created in the previous section.
If you scroll to the bottom of the page, you should now be able to see something like this. The last thing you could change if desired is the Session Duration. By default its 24 hours which can be annoying and too strict for non-critical applications.
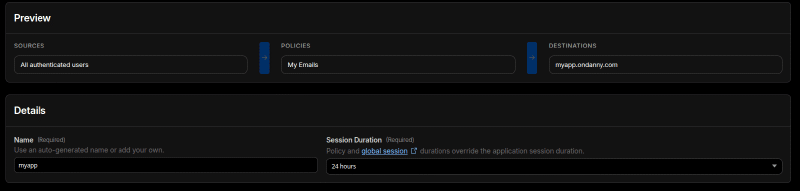
Once you are satisfied with the settings, go ahead and click on Create
Logging in#
Your application is now protected! Visit your application and you should see a page like this
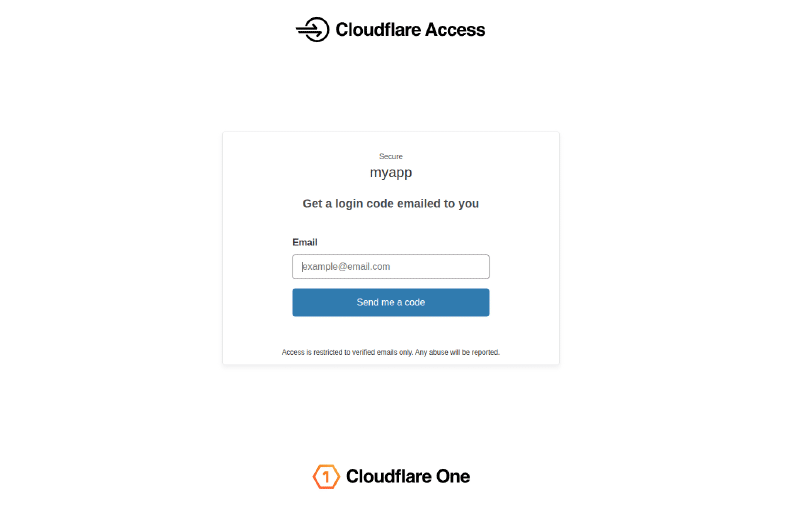
Try one of the emails you added to your policy, you should receive a one time code and once you enter it in, you will be able to access the application!
Thanks for reading,